Photo weather
Compare cloud layers, precipitation, wind, humidity, visibility and dew point.
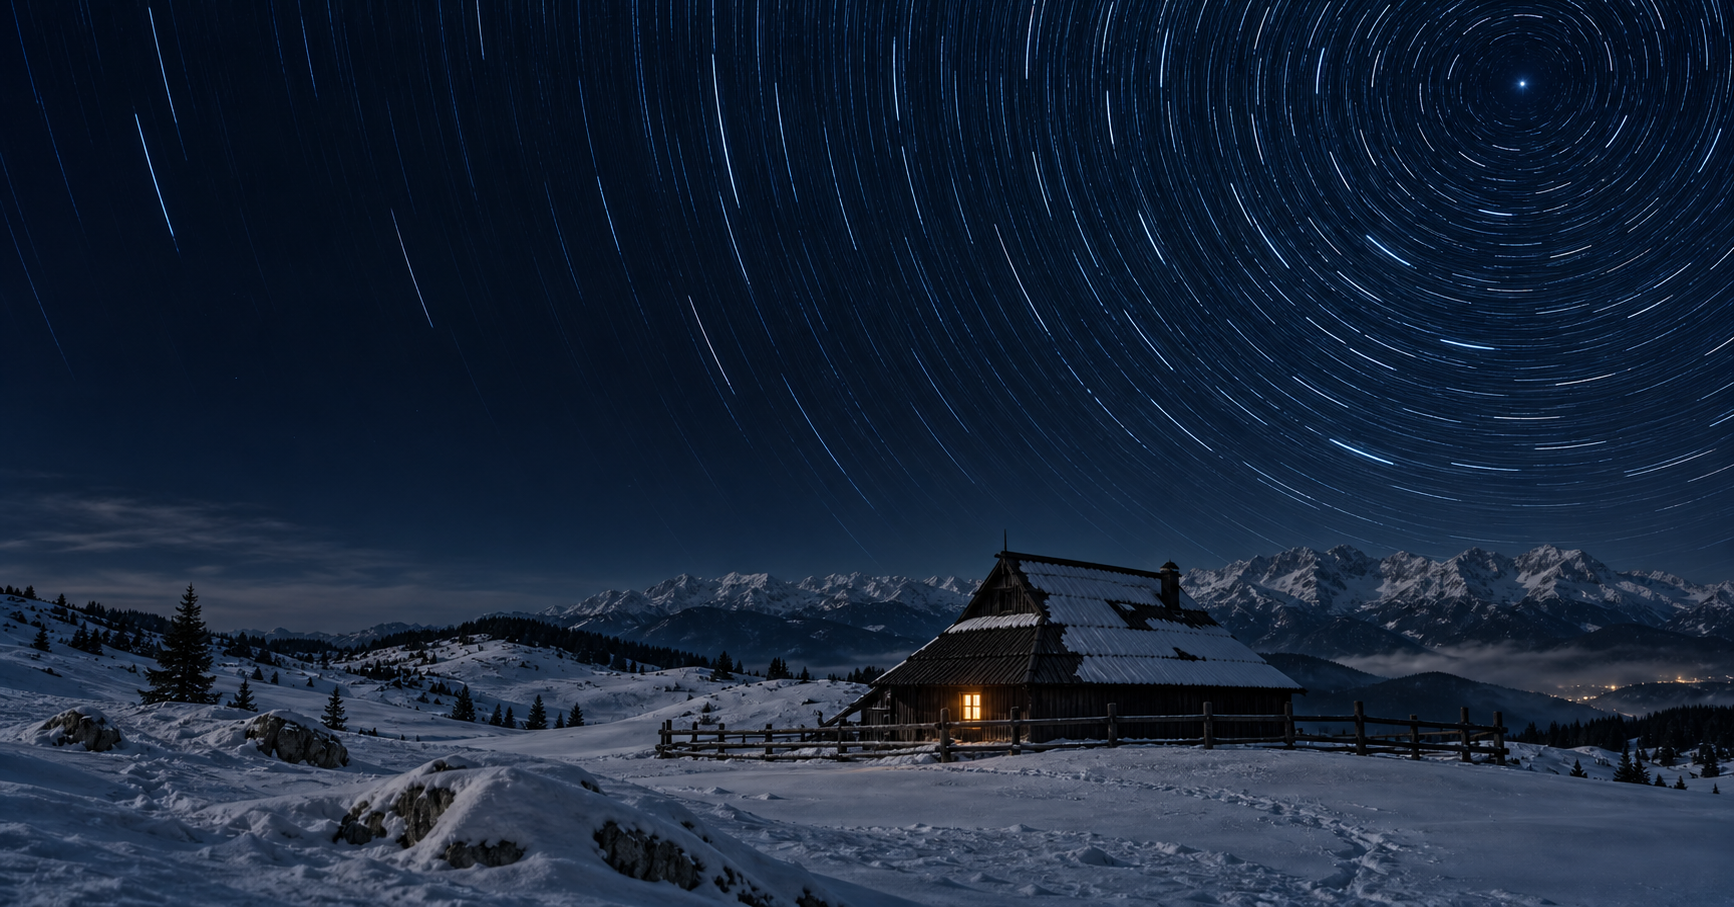
ASTRO · LANDSCAPE · LUNAR PHOTOGRAPHY
SpotFinder connects light, terrain, weather, lens and AR in one precise photography plan. Build the frame at home, then align it in the field.
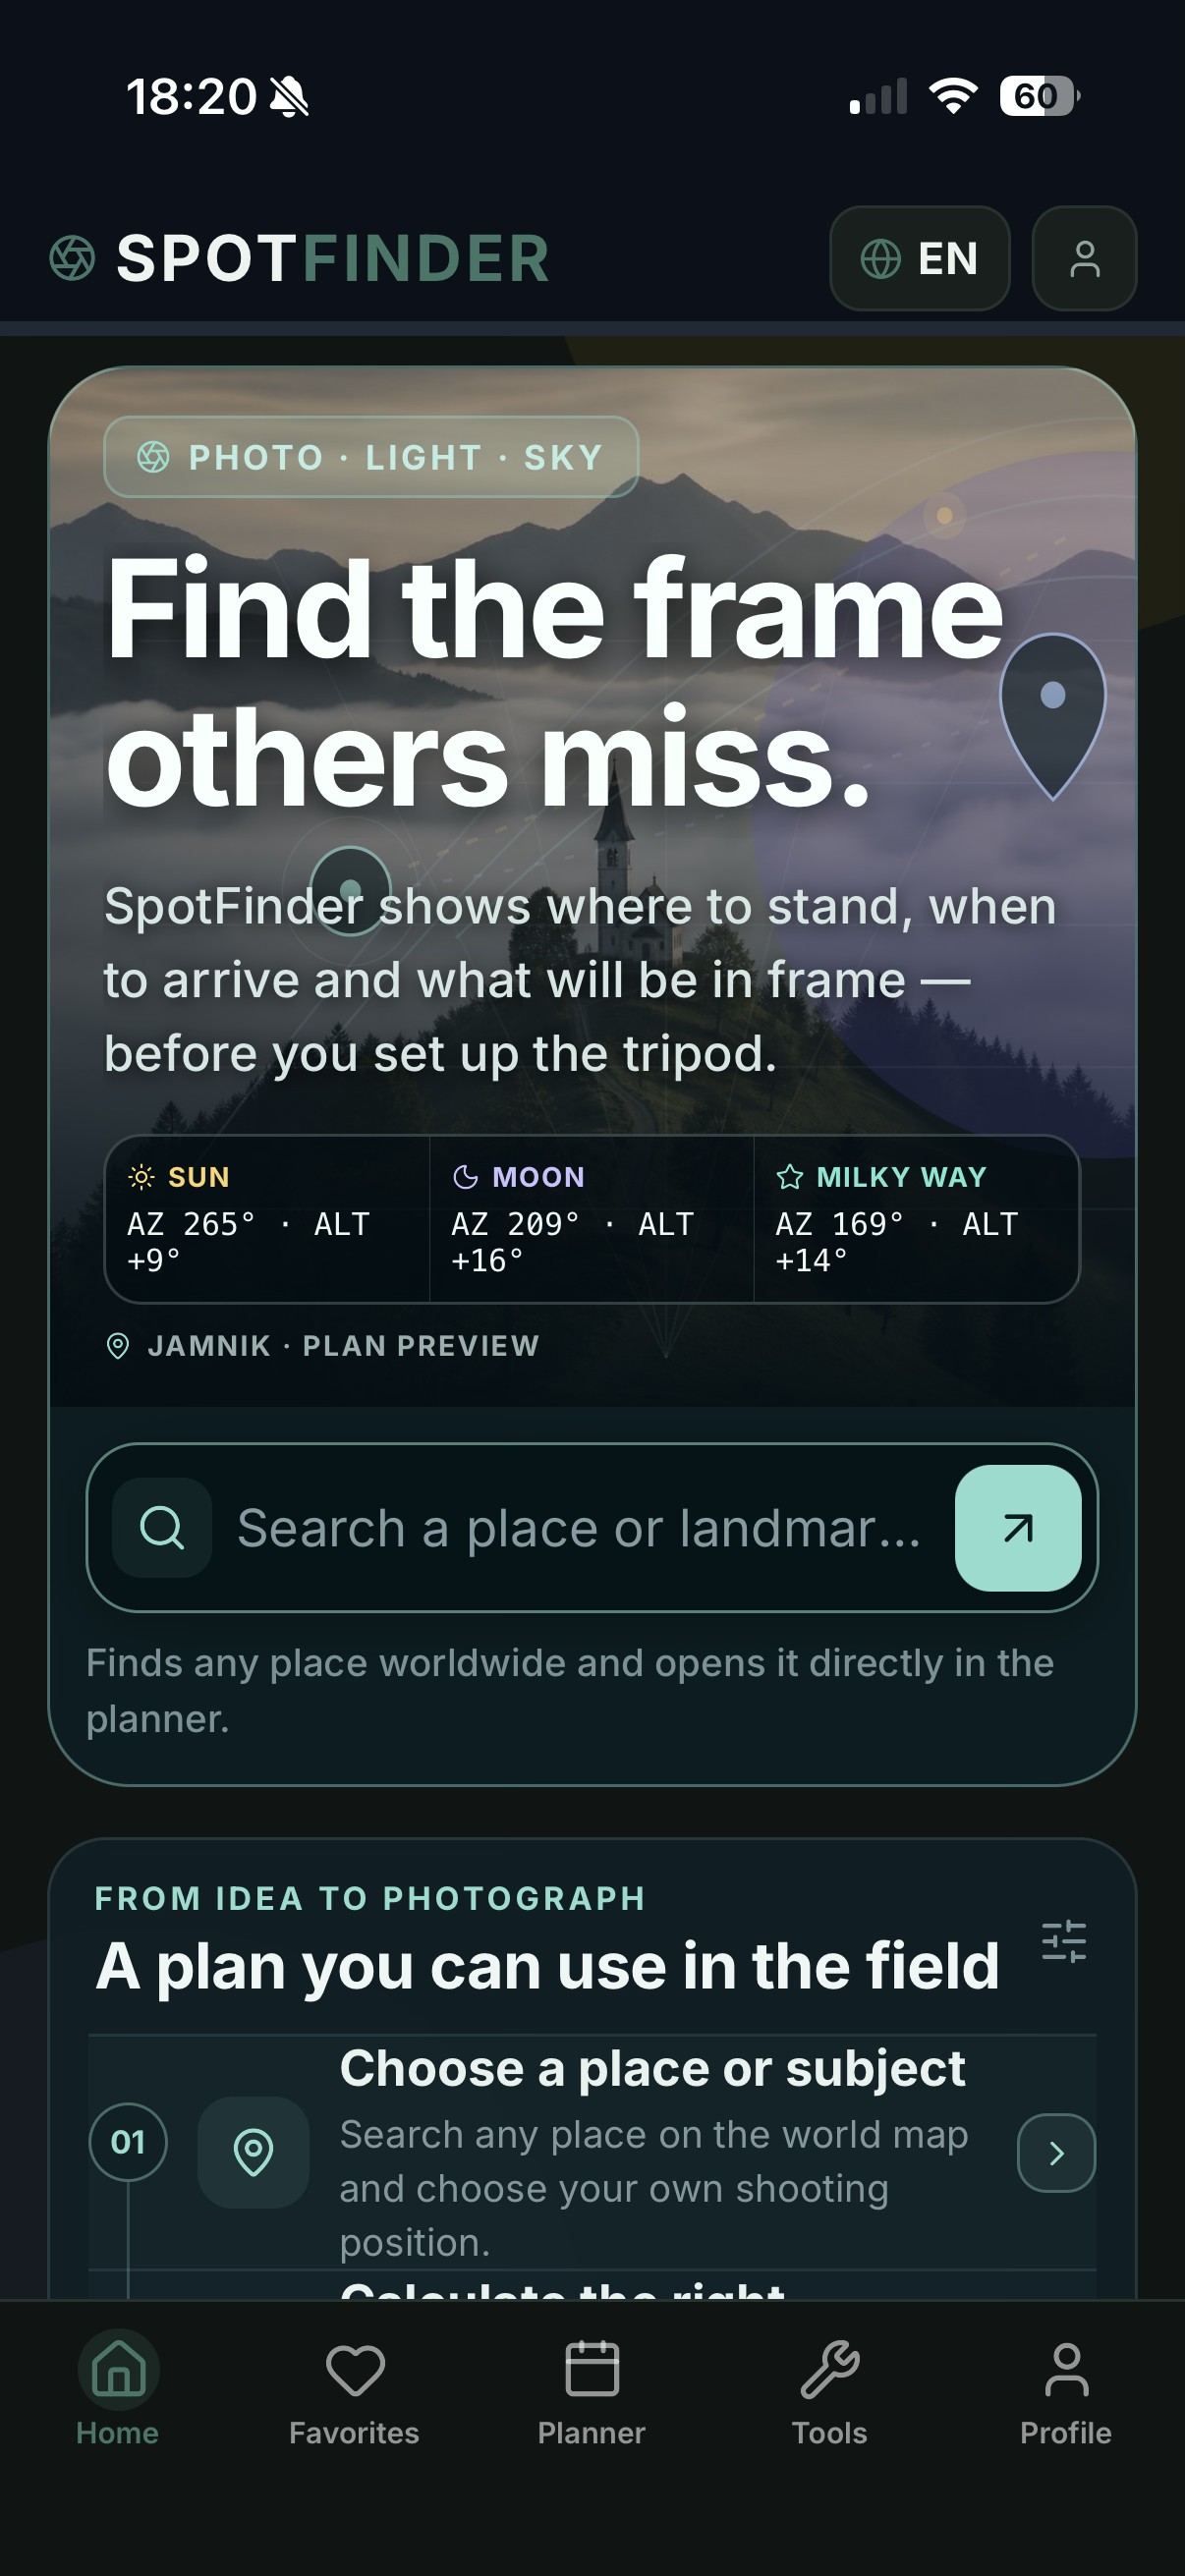
FROM IDEA TO TRIPOD
Keep position, time, event, weather, lens and obstacles in the same plan.
Compare cloud layers, precipitation, wind, humidity, visibility and dew point.
Place photographer and subject, then align azimuth and altitude to the minute.
Compare sensors, 10–600 mm lenses, orientation and 1.4× or 2.0× teleconverters.
Check relief and horizon, then add a house, tree or other obstruction.
Enable light pollution and compare an approximate Bortle estimate.
Verify Sun, Moon, Milky Way, meteor radiant or star trails in camera view.
CURRENT APP
The current interface shows the planning flow, the AR grid and the new photography weather tools.
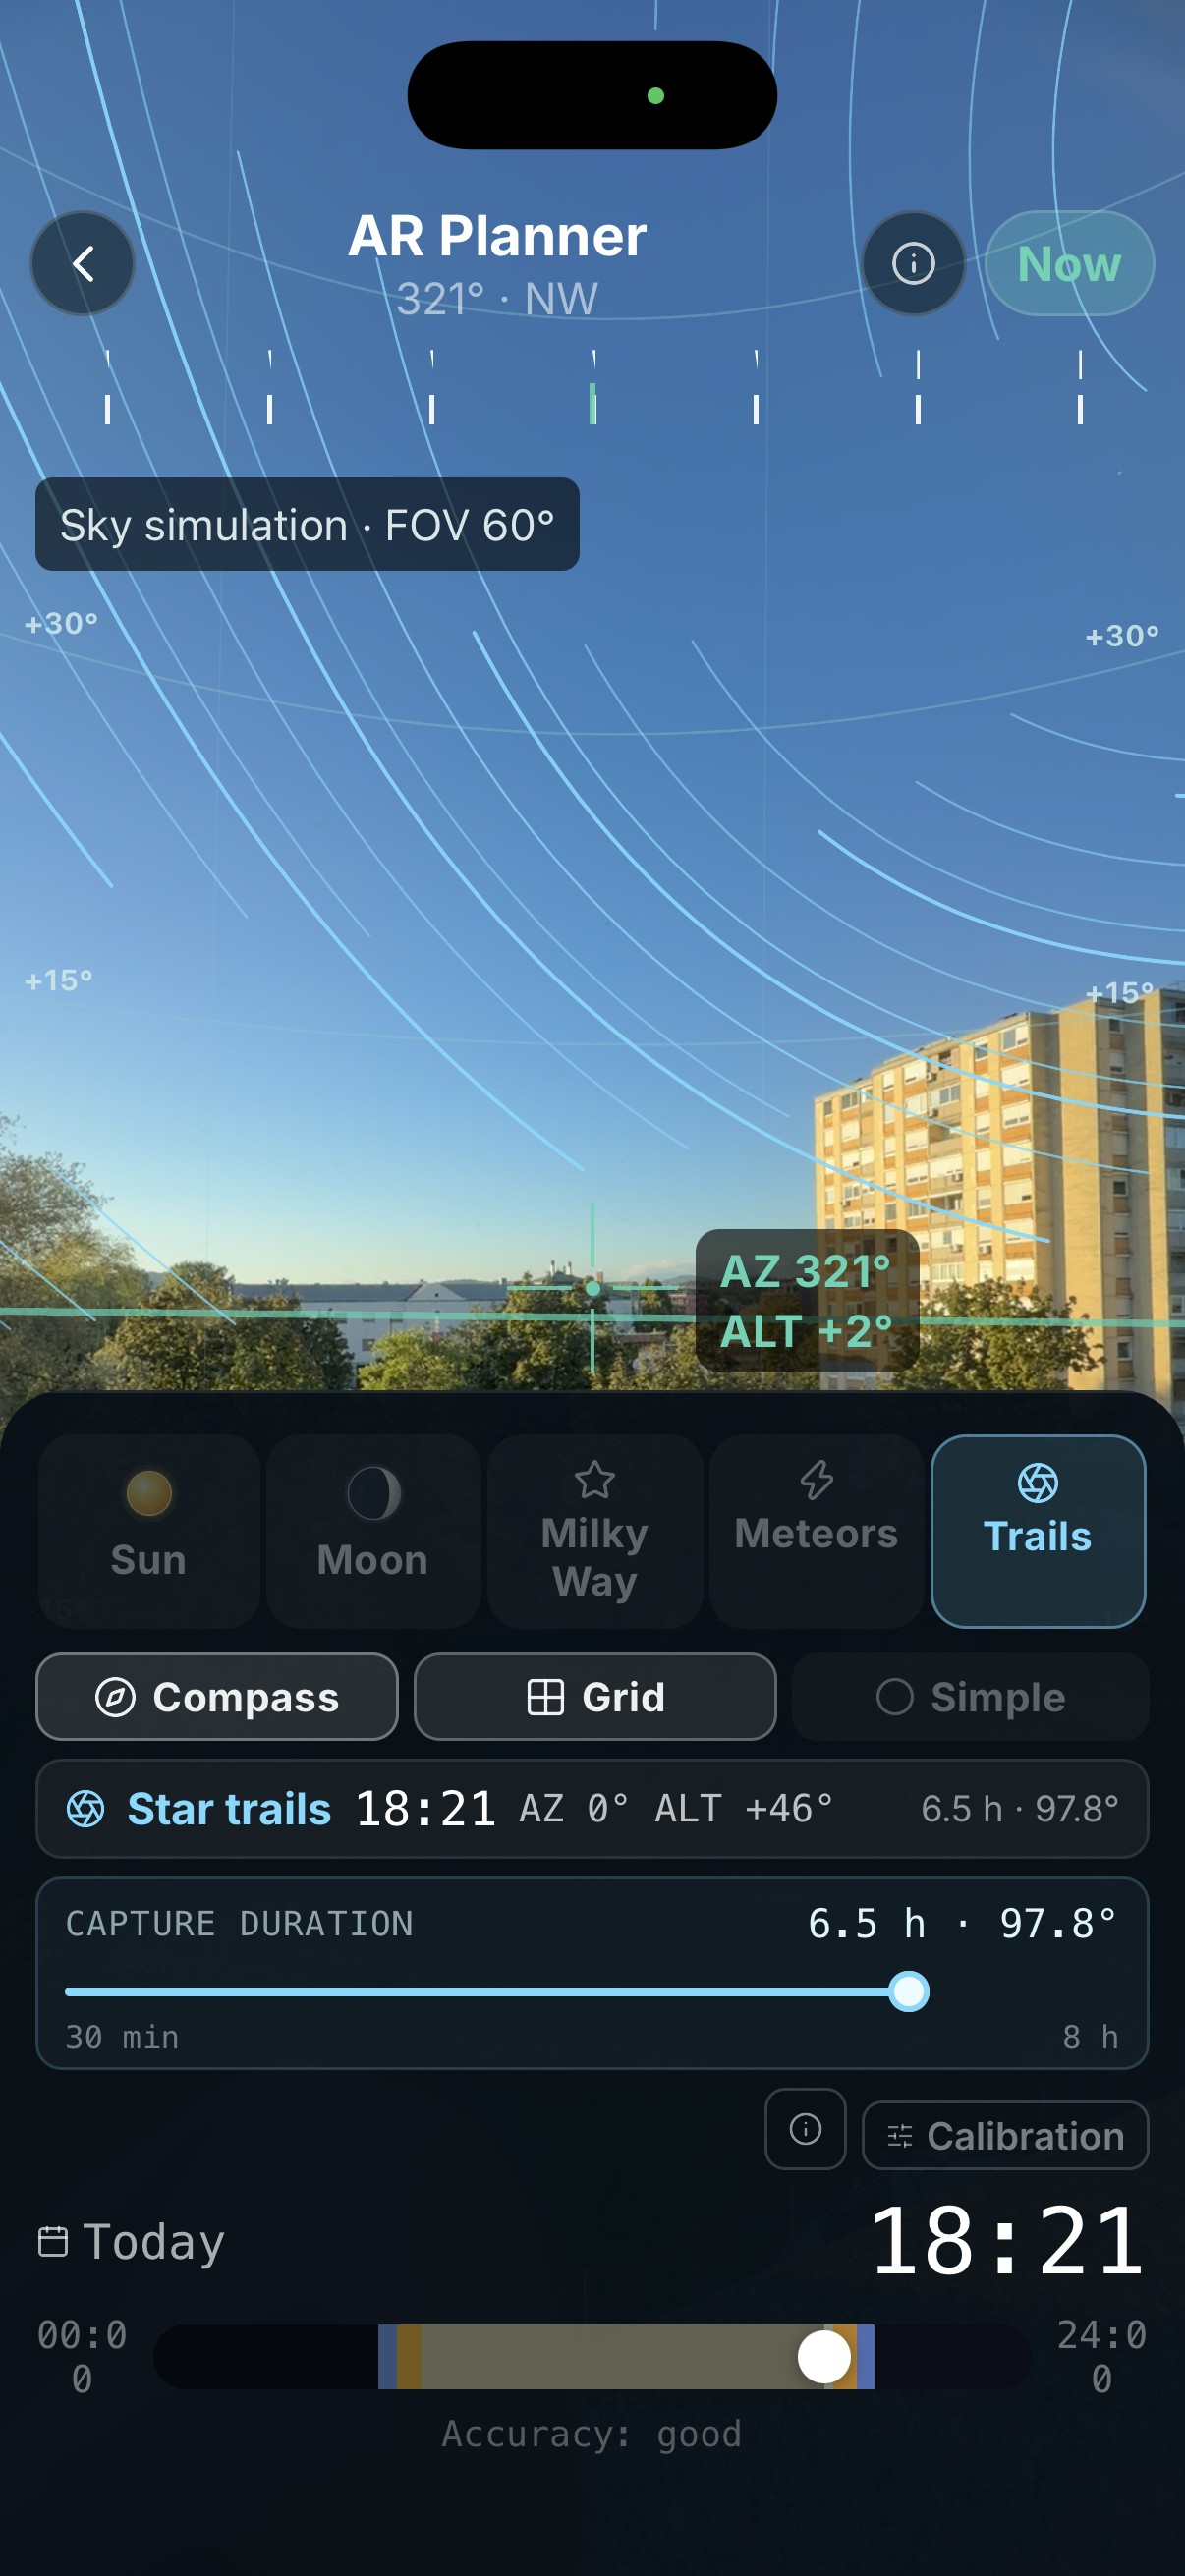
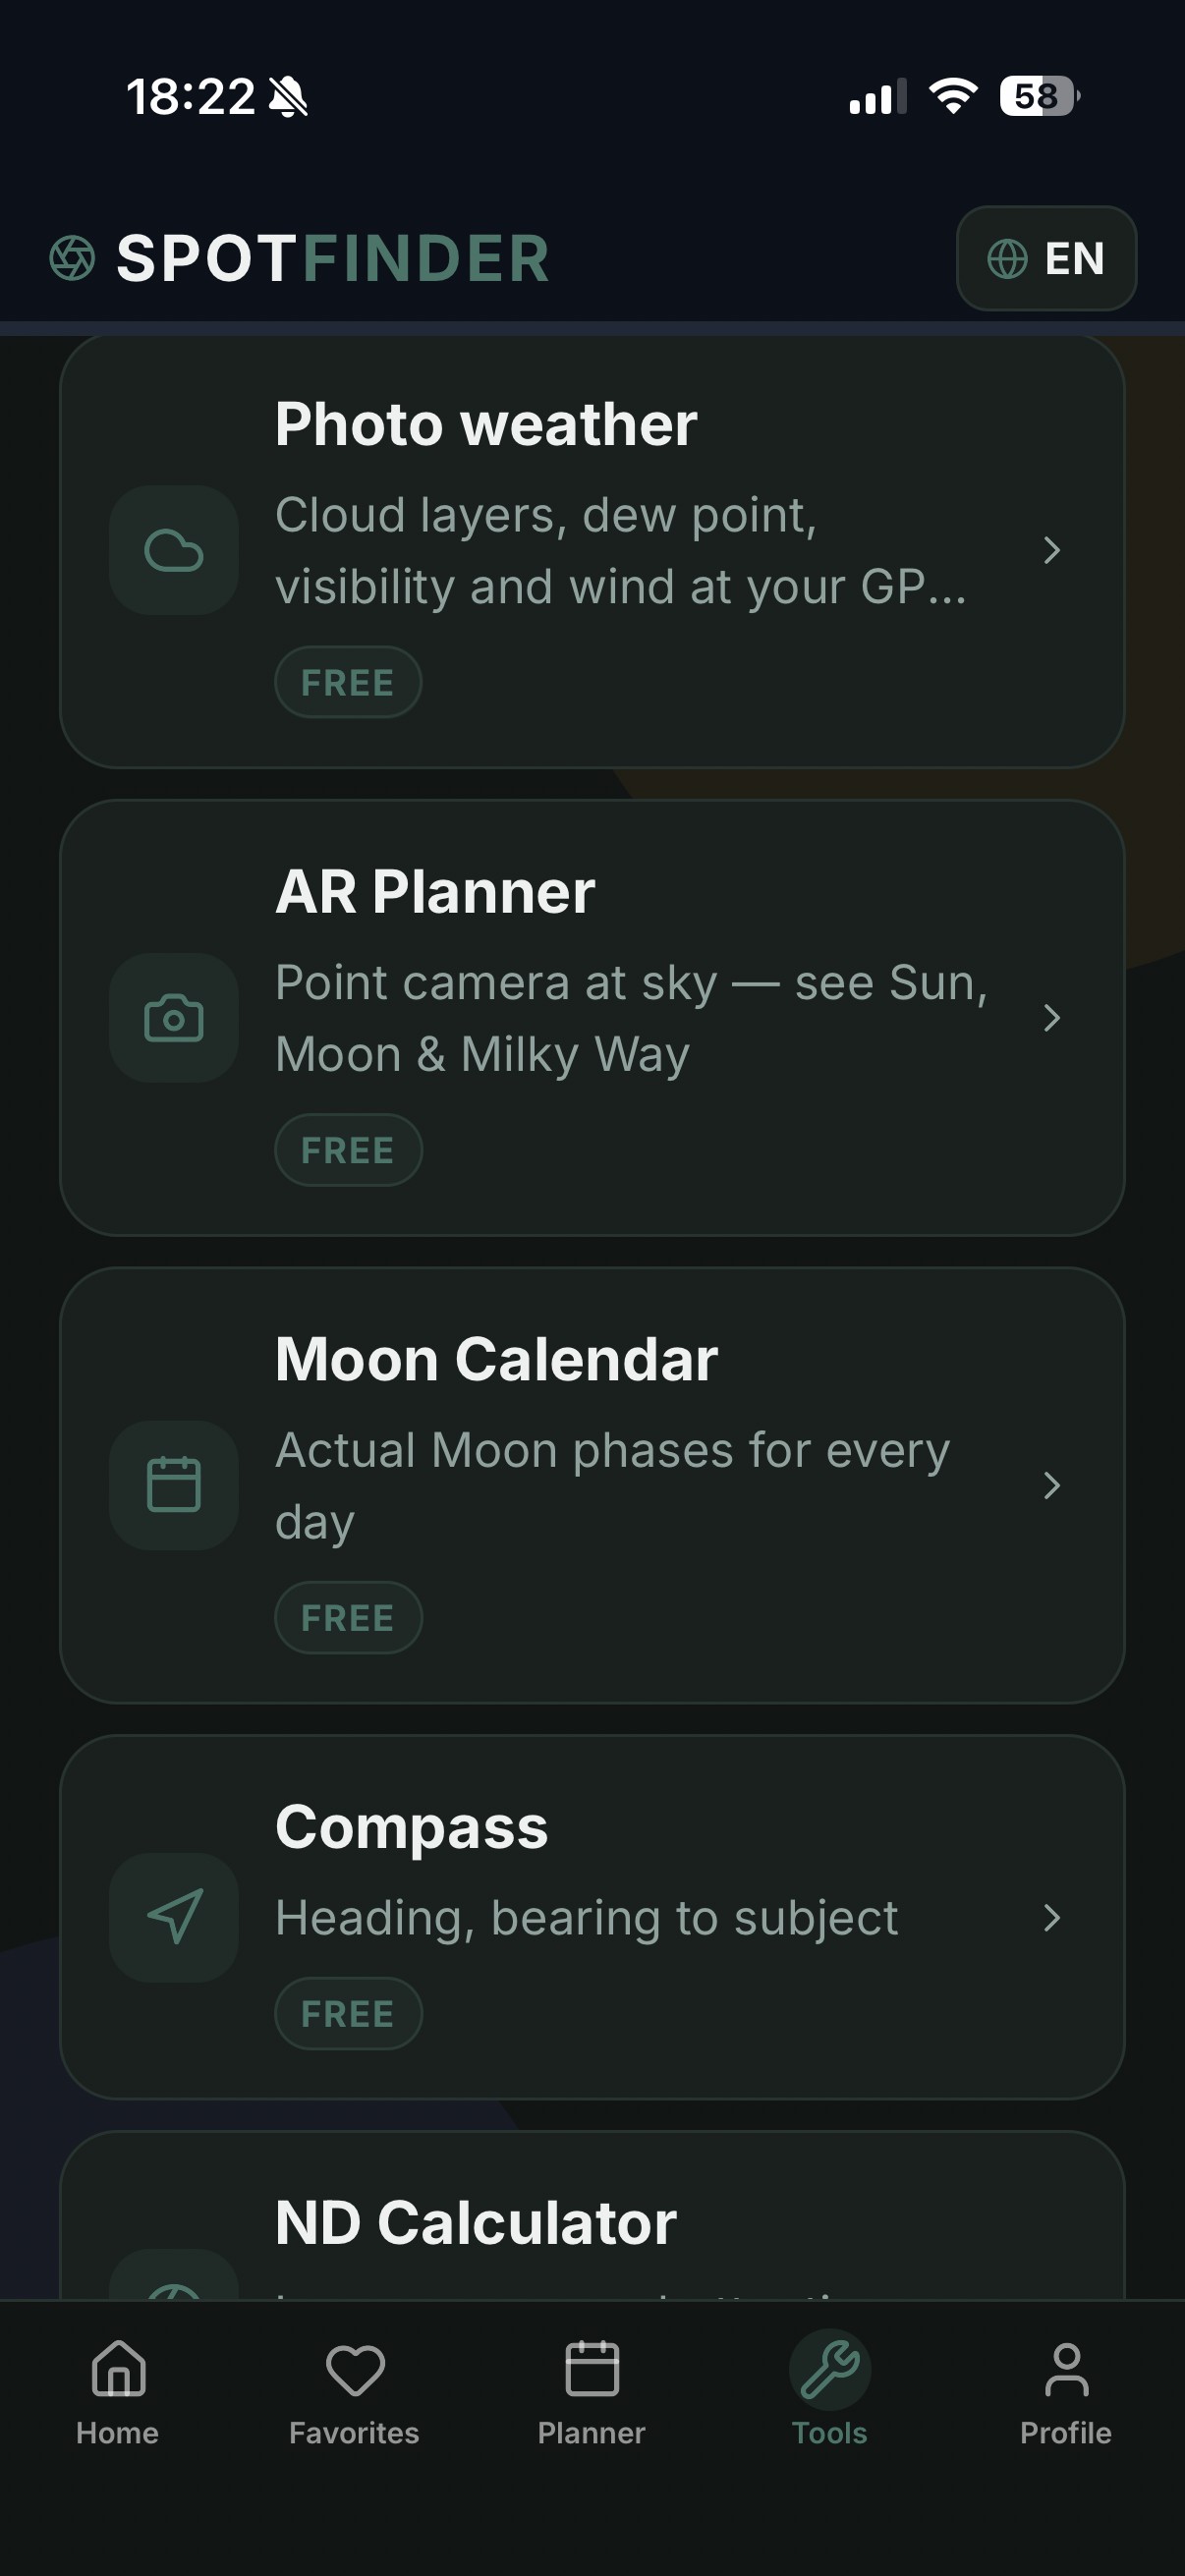
PHOTO WEATHER
See the conditions that directly affect light, sharpness, equipment and sky visibility.
Low, mid and high cloud layers
Probability and expected amount
Wind speed and direction
Relative humidity and haze potential
Viewing distance through the atmosphere
Fog and lens-condensation warning
COMPLETE GUIDE
Open a topic and follow the steps in order. The final line tells you what should be correct before you continue.
Photo Weather brings together cloud layers, precipitation, wind, humidity, visibility and dew point so you can judge the conditions for the selected time.
Open Photo Weather for the selected date and time.
Compare low, mid and high cloud. High cloud can colour sunrise or sunset, while low cloud may hide the subject.
Check precipitation, wind speed and direction, and visibility.
Compare temperature with dew point. A small gap means a greater chance of fog or lens condensation.
Check the forecast again shortly before leaving because conditions can change quickly.
ResultOne view shows whether light, cloud, wind and visibility support the planned photograph.
Two pins define the real composition: Photo is the tripod position and Subject is the feature you want to align.
Tap Photo, then set the tripod position on the map.
Tap Subject, then place the target on the church, peak, tree or other main feature.
For buildings, put the stemmed target on the highest relevant point.
Check distance and shooting bearing; the connecting line must cross your planned frame.
Use GPS to place the photographer at your current position.
ResultThe data card shows distance, azimuth, elevation difference and shooting direction.
The selected event changes the map line and readings. The slider moves approximately; arrow controls refine the time.
Choose Sun, Moon, Milky Way, Eclipse or Meteors.
Select a date and set an approximate hour.
Use the arrows for fine adjustment while watching AZ and ALT.
The direction is aligned when the event line overlaps the photographer-to-subject line.
Check vertical placement relative to the top of the subject.
ResultDirection and altitude are separate checks. Both need to match the intended frame.
Ideal time refines alignment on one day. Best dates scans the next twelve months for the same composition.
Set both pins and choose a celestial event.
Open Ideal time and apply the result to the plan.
Check bearing error and vertical placement above the subject.
If the day is unsuitable, compare Best dates in the year.
Verify the result with the timeline, terrain and AR.
ResultTreat the result as your shooting target and arrive early enough to set up.
The simulator uses distance, sensor, focal length, orientation and teleconverter. The Moon keeps its physically correct apparent scale.
Open Frame and lens.
Choose Full Frame, APS-C or MFT.
Choose 10–600 mm: wider lenses show more sky; longer lenses narrow the frame.
Add a 1.4× or 2.0× teleconverter when needed.
Choose landscape or portrait and inspect the subject and celestial body.
ResultThe preview shows scene dimensions at the subject and the body’s share of frame height.
The elevation model checks terrain. Add a house or tree manually. The light-pollution layer helps compare darker directions.
Check line of sight and terrain-horizon angle.
Enable Local obstacle for a house, tree or pole, then enter distance and height.
A red state means terrain or the entered obstacle blocks the subject or body.
Enable Light pollution; its Bortle estimate is approximate and satellite based.
Verify vegetation, buildings and temporary obstacles on site.
ResultGreen means clear according to the available model; confirm the final view in the field.
AR keeps the location, subject, date, time, event and lens field of view.
Choose the lens in 2D, then open AR.
Allow camera and sensors and keep the phone away from large metal objects.
Calibrate against true north or a known field direction.
Move the phone until the subject marker and event line reach the intended frame position.
Adjust time to see the calculated path move.
ResultAR verifies the plan in the field; accuracy also depends on the phone compass and motion sensors.
Meteor paths originate at the calculated radiant. The estimate also considers darkness, Moon, light pollution, lens and sensor.
Choose Meteors and select a shower.
Review its active period, peak, ZHR, speed and best local time.
Compare the whole-sky estimate with the estimate inside your selected frame.
Open AR and frame around the radiant.
Treat counts as probabilities because cloud and natural activity vary.
ResultZHR describes an ideal full sky; “in frame” is more useful for the chosen lens.
The view calculates the celestial pole from location and time. Dense arcs show rotation while the white centre helps frame the composition.
Choose Star trails and open AR from a 2D plan with your lens.
Face north and calibrate. The white point and Polaris label mark the framing centre.
Move or rotate until the subject sits correctly around the centre.
Preview 30 minutes to 8 hours in 30-minute steps.
Change the lens in 2D for a wider or tighter AR view.
ResultThe slider previews trail length; the photographer still chooses the real exposure sequence.
A saved plan keeps the key settings together so the composition does not need to be rebuilt.
Save with a clear name such as “Jamnik · Moon above the tower”.
Check date, time, subject, event and lens in My plans.
Add the time to your calendar with an early reminder.
Navigation opens the tripod position; Share opens the phone sharing menu.
Reopen 2D or AR on site and check current weather and visibility.
ResultOne record connects the idea, position, time, frame and field verification.
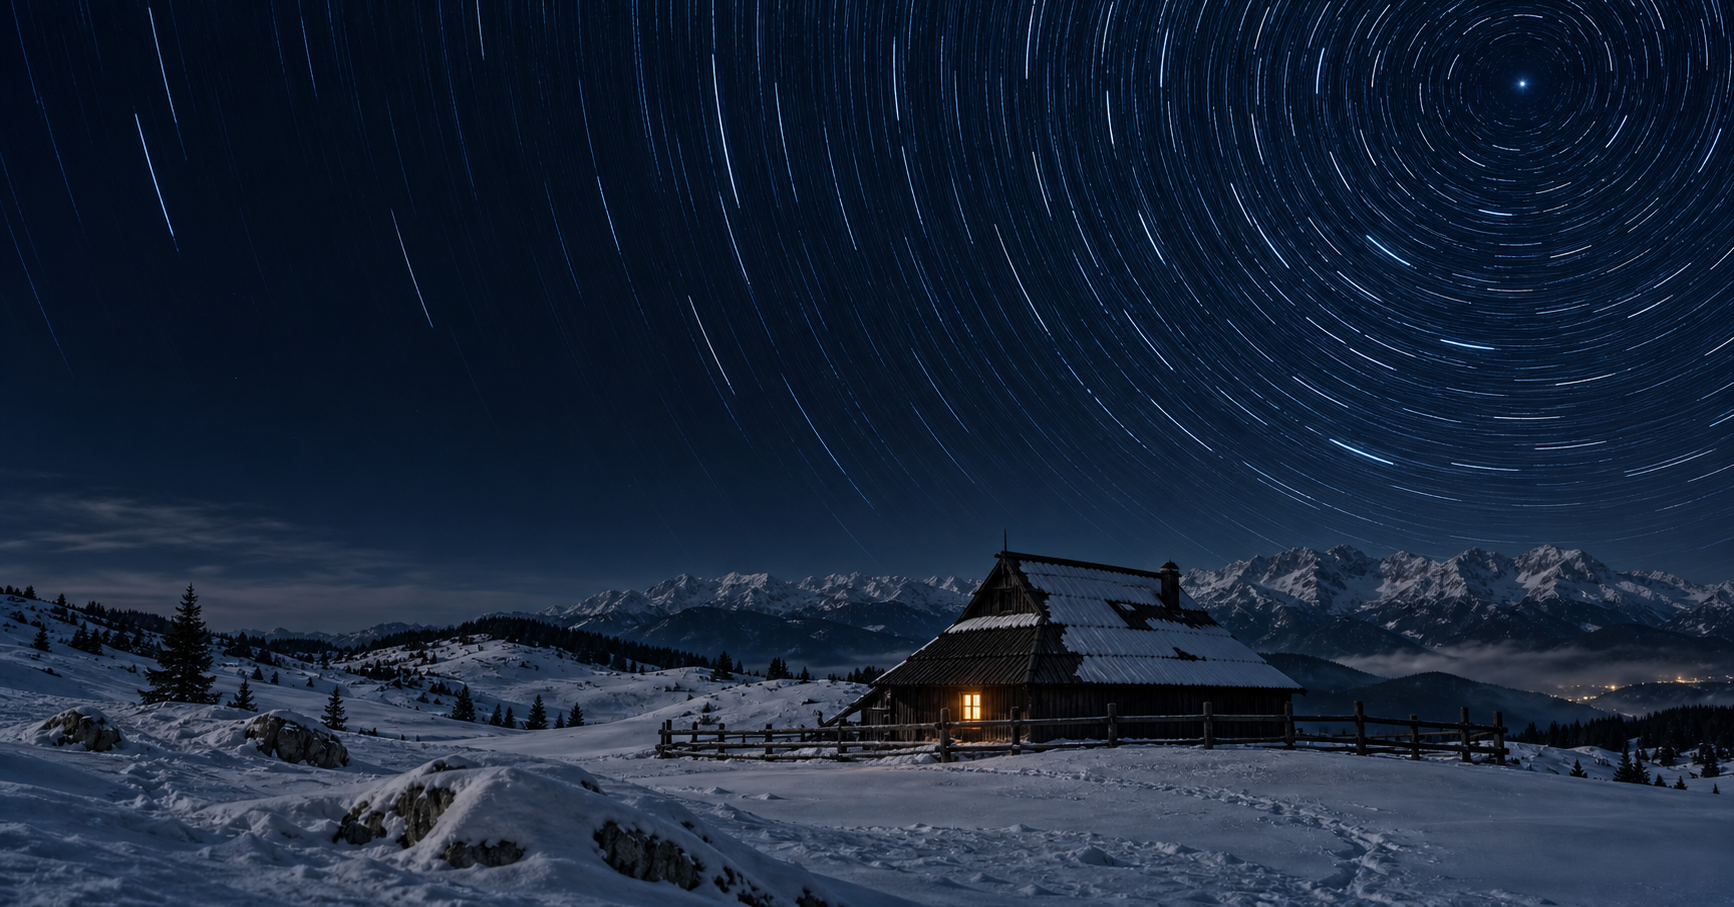
NIGHT FRAME
Light pollution, the Milky Way, Moon and terrain remain visible in one plan.
Location supports the map and astronomical calculations. Camera and sensors enable AR; the live image is processed on device. Supabase supports accounts and saved content.
To access, correct or delete your account, email us from the account address with subject “SpotFinder — account deletion”. Never send a password.
spotfinder@pawspot.si